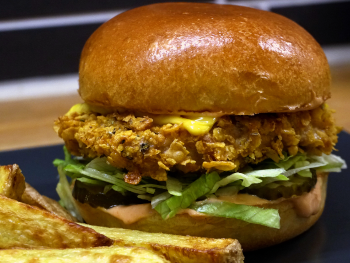
Here are some tips to succeed with smash burgers at home without special accessories
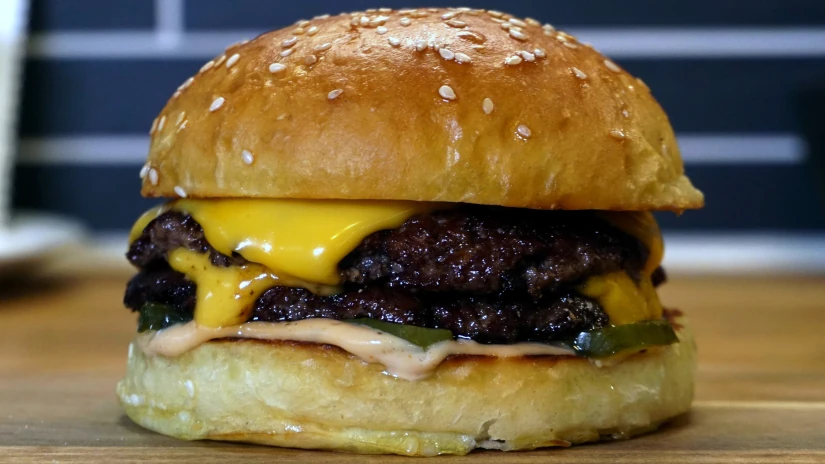
I love hamburgers and smashburgers specifically. It's a simple concept, but can take some practice to get really good. Here I write a little about what I think works well and creates really good smash burgers.
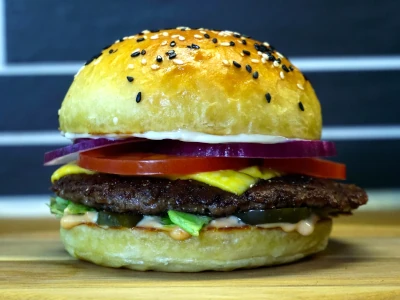 Smashburger variant with one patty
I started messing around with smash burgers a while ago and think it's a great concept.
I have found a simple, but oh so good version that is really better than many other hamburgers.
Obviously people have different opinions, but I have to say that a double smash burger with cheese is one of the best things I've eaten in recent years. And while I generally have a problem with the American processed cheese coming across as extremely artificial, it is without a doubt the best accompaniment to a smash burger.
There is something special about the taste of the meat after it has been given a substantial surface from the grilling table or frying pan that elevates the smash burger experience to something out of the ordinary.
To think about in general
- Use ground beef with around 20% fat. Högrevsfärs from Scan is a good mince that can be found in some stores around Sweden. Coop also has a ground hamburger that works well. Of course, it will be best to mince yourself.
- The minced meat balls should be between 80 and 100g. I use 2 pieces of 80g if I make a double cheeseburger, otherwise 90-100g for single patties.
- Pack lightly - hug the meat without compressing it too much. The balls don't have to be perfect, just squeeze a few times a little lightly.
- Keep the balls in the fridge until it's time to smash (not room temperature, that is).
- High temp on the pan (260°C -> 500°F).
- It's not the prettiest burger - it should look a little ugly and have some holes in it while it's being fried.
- Salt and pepper after it is smashed. Just one side even if that is not that important.
Accessories
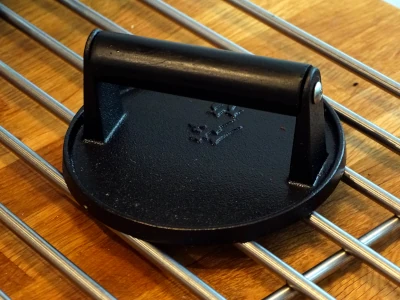 Smash Hamburger Press
Actually, you don't need any special accessories, but some things can help. I use a heavy duty spatula, a hamburger press and a regular stainless steel (or carbon steel) frying pan which works great. If you have a wide and solid spatula, you don't need the hamburger press, but it can make it easier to get an evenly thick steak with the perfect size to fit the hamburger bun being used.
If you want to buy a real frying table, you can of course do that. There are variants that work on a regular induction hob, which gives the opportunity to make more burgers at the same time. It's fun to use such a frying table and makes it easier if you're cooking a larger amount of hamburgers, but it's not necessary to get good results.
Minced meat
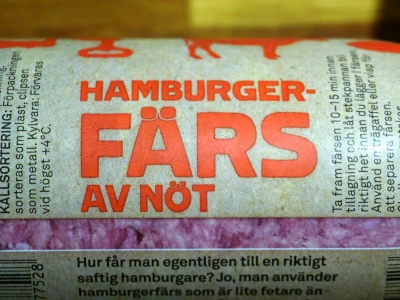 Ground meat specifically for hamburgers
In general, you want to use a ground beef that has a higher fat content than the normal ground beef (approx. 10-12%) you buy in a store. With approx. 10% the meat becomes a little dry and burns more easily in the frying pan.
I think it will be good with around 20% if you mix yourself, and it seems like the custom varieties you can buy in stores stay around this fat content too. There are a few different ready-made mince mixes to buy that I have tried, including prime rib from Scan and hamburger mince from Coop. They have both worked well and are relatively easy to get hold of in Sweden. Another option is to ask a butcher if they can prepare a fresh ground beef for hamburgers which they will certainly help with.
Instead of buying ready-made minced meat specifically for hamburgers, you can of course mix it yourself, but I haven't tried that yet.
Method
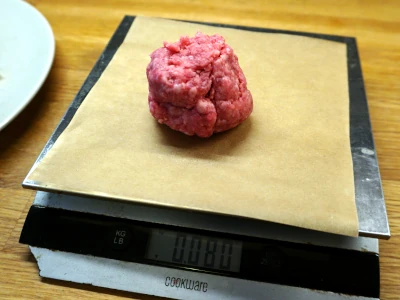 Weighing up the minced meat
The first and most important point in the method for a good smash burger is to get good ground beef with a fairly high fat content. Around 20% which I raved about above.
After that, you need to weigh up the minced meat and create smaller balls. I find that balls weighing between 80 and 100g work best. Less than 80 it will be too thin and possibly not hold together and more than 100 I think it will be too thick and not cooked as quickly.
Another thing that I think makes a difference is keeping the meat in the fridge all the way until you start cooking. You can definitely use room temperature meat as well, but I think it seems to hold together better and makes it easier to shape the burger if it comes straight from the fridge.
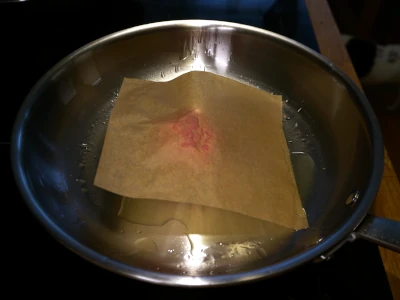 I use parchment paper
The next step is to place the cold little ball of ground beef in a frying pan or on a frying table. Here it is important that the frying pan is really hot, ~260°C (500°F). You want the burger to get a surface quickly and not stick, which requires the pan to be really hot.
It is easier to use a thermometer to check the temperature, but it is also possible to use small drops of water to determine if the pan is hot. As long as the water stays together and jumps around in the frying pan instead of disappearing immediately, the temperature is perfect.
I use a small amount of oil of a type that can withstand higher heat and then place the ball in the pan.
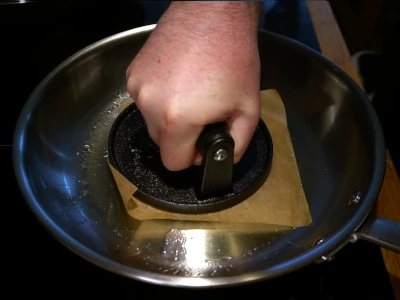 Smash
Smash
Immediately after the ball is placed in the pan and begins to cook, I press it out into a thin patty.
For this particular burger, it works perfectly to press it out to almost exactly the same size as the diameter of the hamburger press, as the hamburger bun is quite large. The patty shrinks a little during cooking, so it's often the case that I squeeze it out to be slightly larger than the hamburger bun.
Here I use a hamburger press because it is easy, but you can use a large solid iron spatula to press out the mince instead.
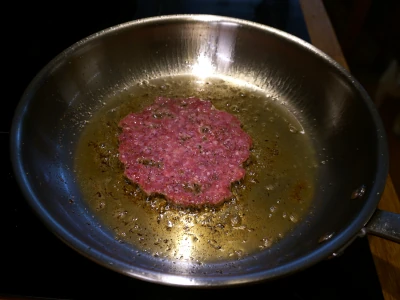 Smash burger frying
With the high temperature and relatively high fat content, there will be some splattering while the patty is cooking and it will also go quite quickly.
As the patty is quite thin, it will also create a few smaller holes quickly, which is perfect - then it works as intended.
I choose to add salt and black pepper to the side that is then up (the other side does not need to be seasoned), but in addition to that, the patty should not be touched until it largely starts to come away from the pan.
It will go pretty quickly and when it's time to flip the patty, it's largely cooked already.
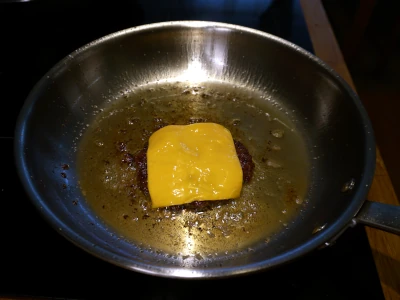 Cheese Smashburger
After the patty has loosened a bit on its own, it is time to scrape it off the frying pan and turn it over. It may be a bit so that you need to scrape a bit with a large frying pan, but it should come off quite easily.
When the patty is flipped, it only needs to stay in the frying pan for a short while longer.
If you want cheese on the patty, put it on immediately after turning the patty. To melt the cheese quickly, you can add a small amount of water and then cover the frying pan with a lid so that you get steam which in turn melts the cheese.
And with that finished, it's just a matter of building everything together and enjoying.
My favorite
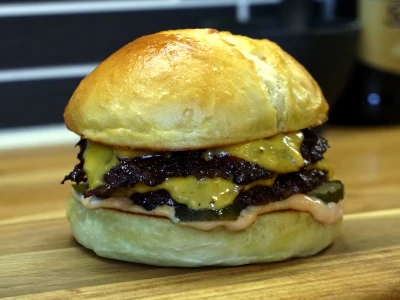 Simple and very good smash burger
After trying a few different variations of smash burgers, I have to say that the one I fell hard for was also the one with the fewest extras in it. I also use homemade hamburger buns with baked potato which makes the whole experience even better. And to make the bread even better, I usually fry it in a small amount of butter so it gets a golden brown surface.
And normally I don't use that American-style melted cheese on my burgers, but right here it's actually necessary to perfect a perfect smash burger in my opinion.
Here are the ingredients I use for the best smash burger:
- Hamburger bread top (fried in a small amount of butter)
- Smashburger 80g topped with melted American hamburger cheese
- Another smashburger 80g topped with melted American hamburger cheese
- 4-5 pickles
- Burger sauce (Mayonnaise, mustard, ketchup, onion powder, garlic powder)
- Hamburger bread base (fried in a small amount of butter)
I really enjoy this burger and it doesn't need any other accessories to fill you up. As usual with hamburgers, it is of course open to experimentation, but this stripped-down burger is very good.
